Build your preference center
Learn how to build and embed a custom notification preference center in your application using Knock's preferences API.
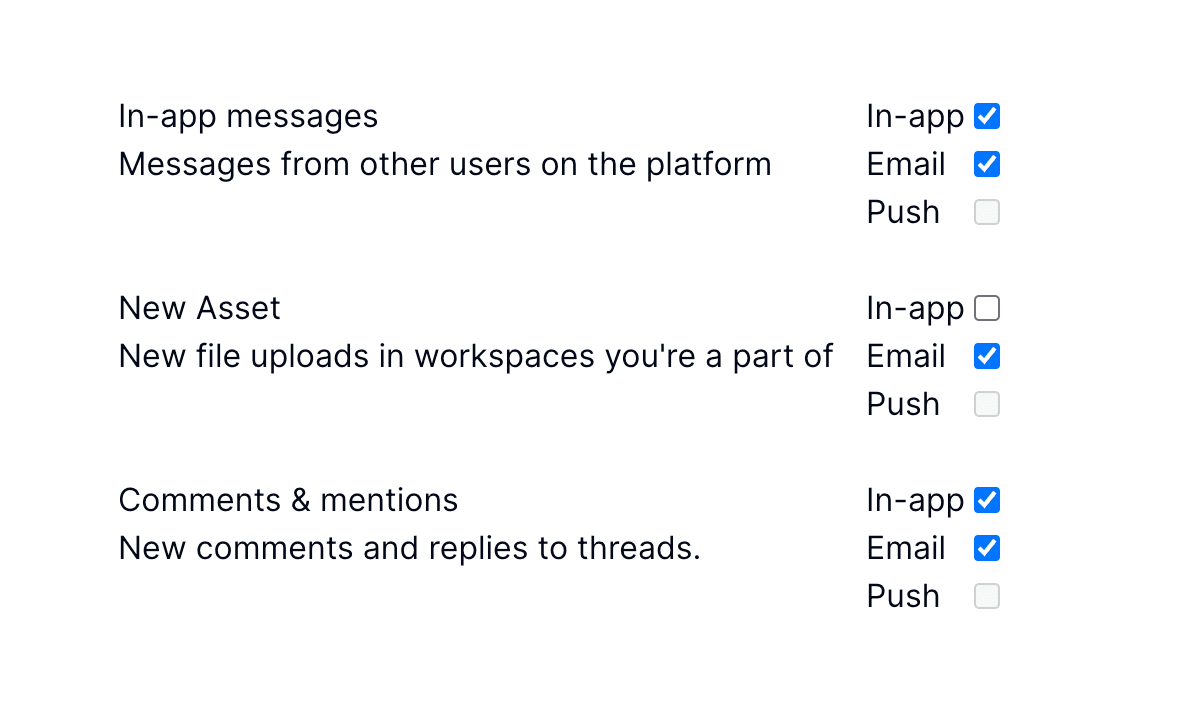
Build your own preference center when you need to embed notification settings directly in your product, control the layout and UX, or support per-tenant preferences, object preferences, and non-default preference sets.
If you want a no-code option instead, see the hosted preference center. Not sure which approach fits? See Choosing a preference center.
Authentication
#Building a preference center in your application does not require a secret API key in the browser. Initialize the Knock client with your public API key and authenticate the user with a signed user token from your backend. In production environments with enhanced security mode enabled, Knock requires the signed user token on all client-side requests.
See Security and authentication for details on generating and passing user tokens.
Steps
#There are four steps to building a preference center with Knock:
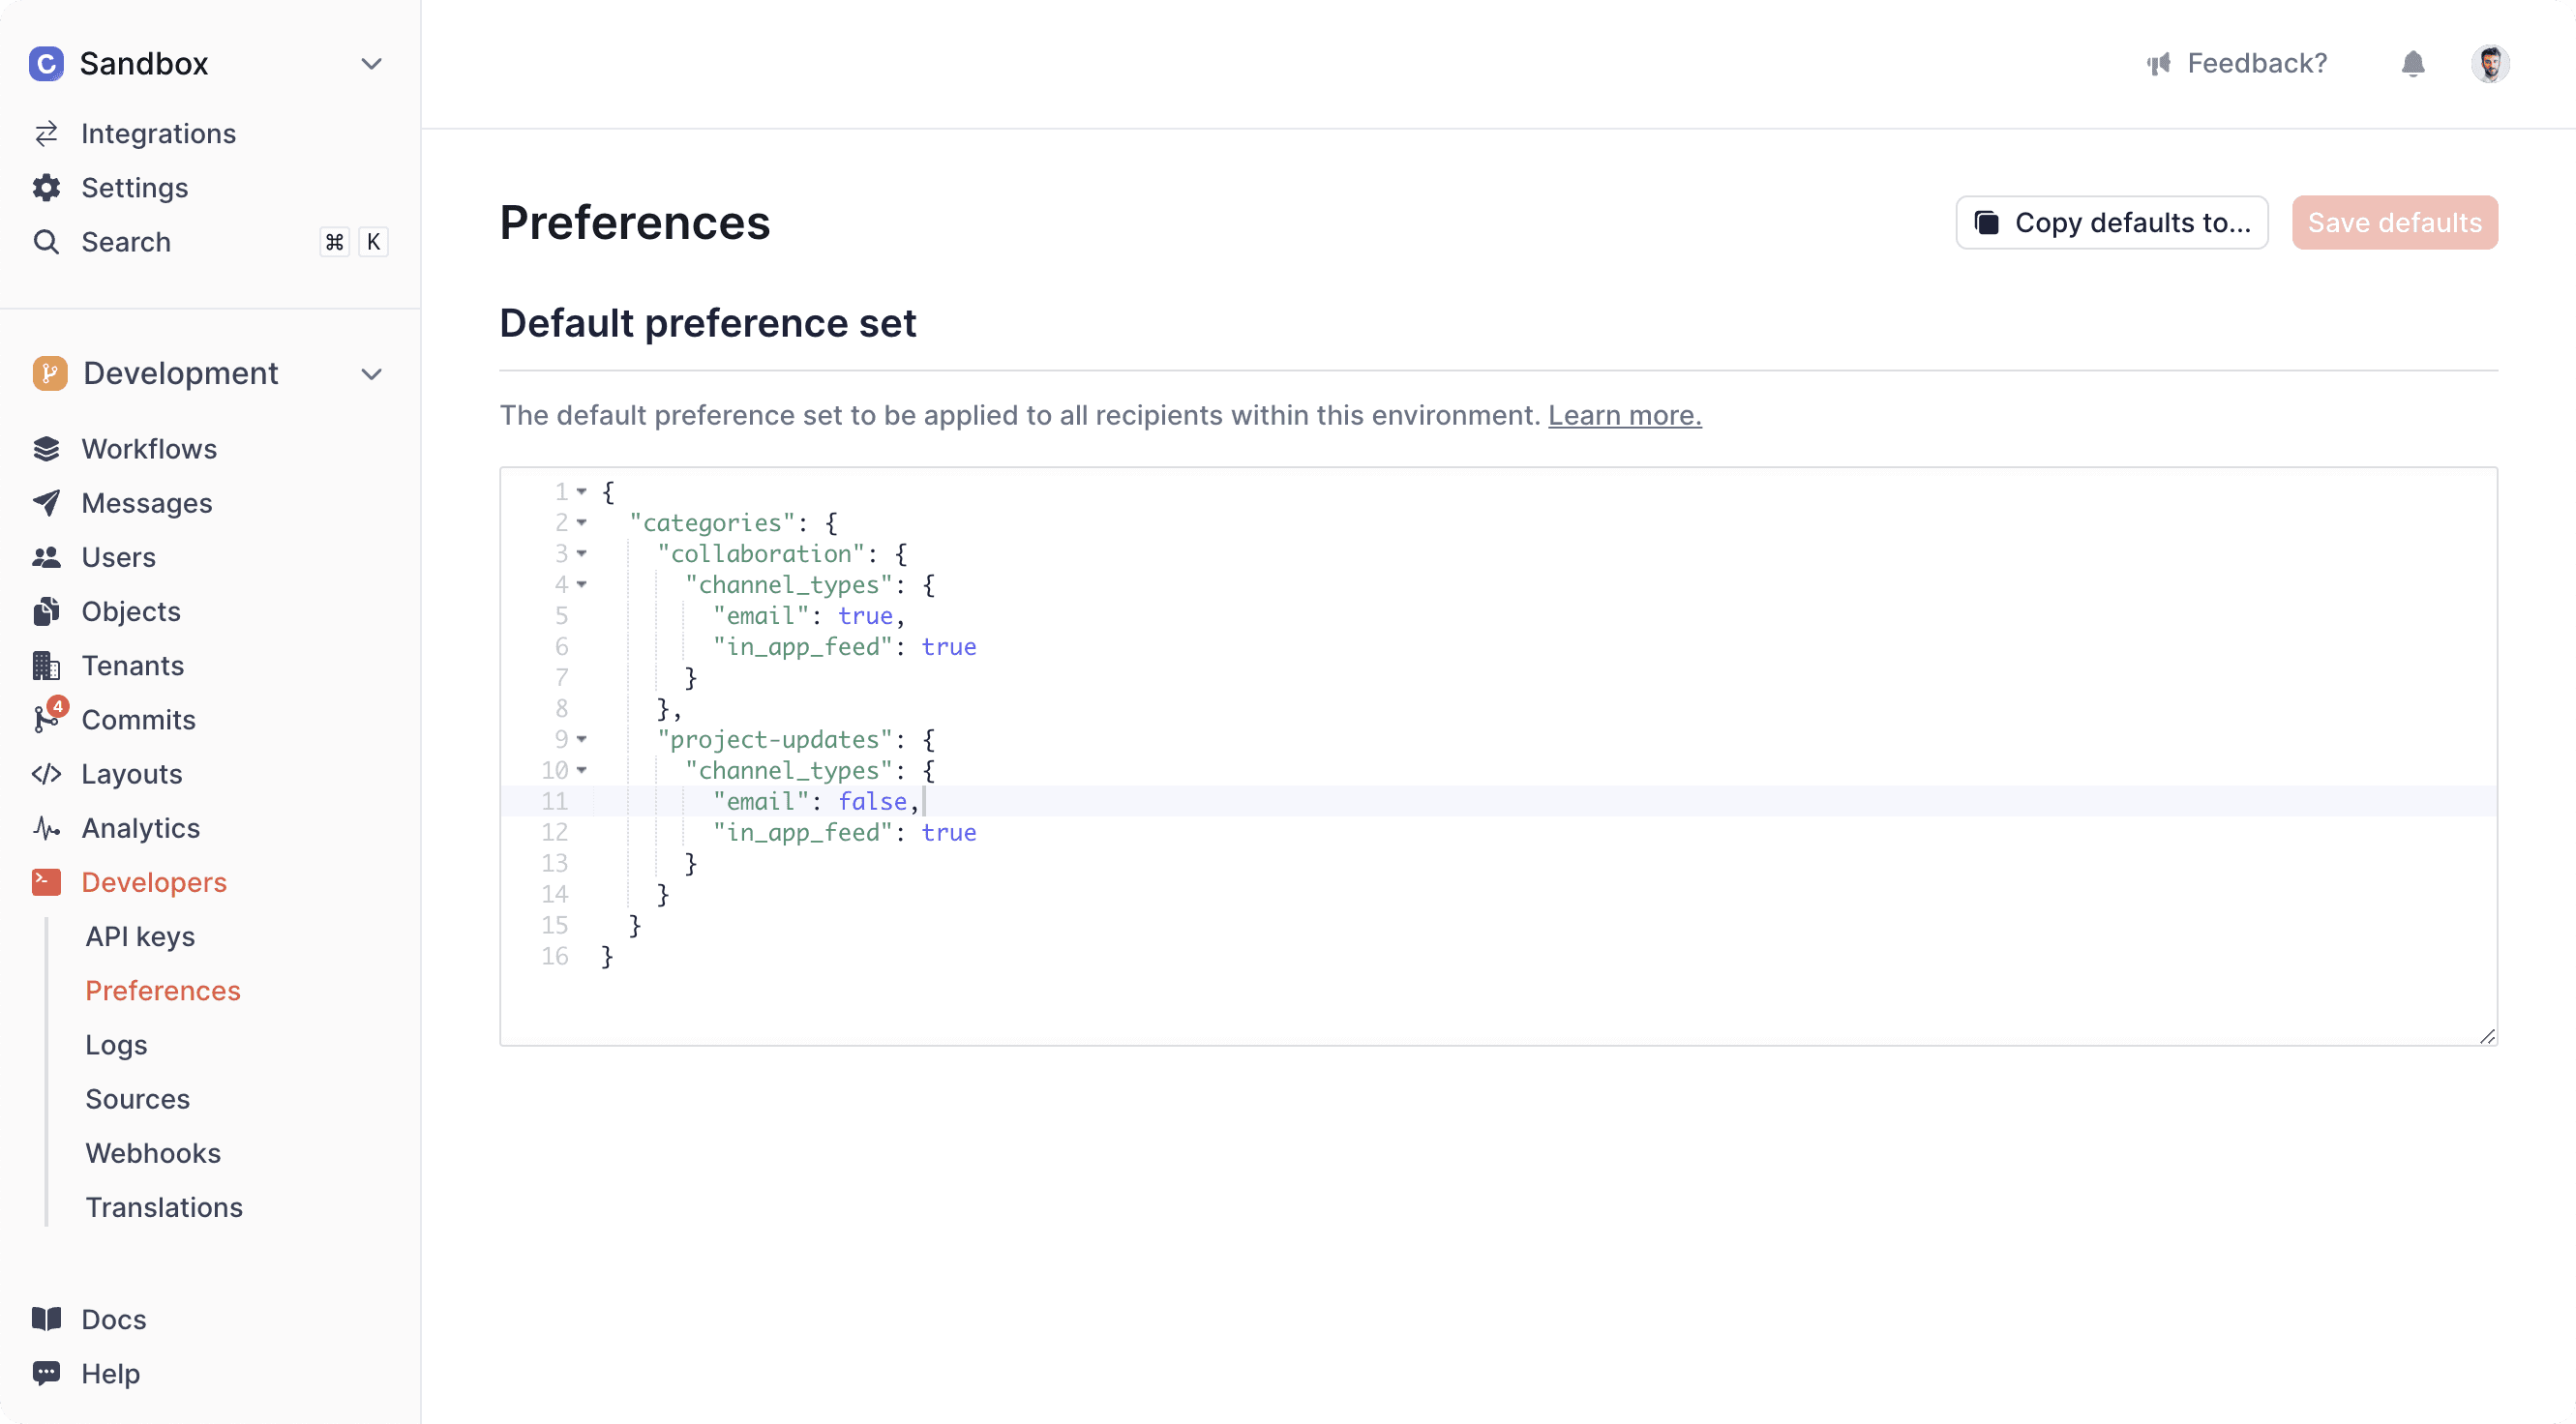
Use dashboard-managed config (optional)
#Instead of hardcoding row labels and structure in your application, fetch the preference center configuration from Knock and use it to drive your custom UI. This returns the same row definitions you configure in the dashboard under Platform > Preferences > Preference center, including titles, labels, row types, and channel type scopes.
Use your public API key and a signed user token—the same credentials as preferences.get() and preferences.set().
Each row in config.rows maps to a key in the user's default PreferenceSet. Row type values include category, workflow, channel, channel_types, and commercial_subscribed.
The response includes enabled, config (with title, body, and rows), branding, and display metadata such as account_name and user_email. Use config.rows to render your UI, then read and write preference values with knockClient.preferences.get() and knockClient.preferences.set().
See the get preference center config API reference for the full response schema.
Implementation examples
#These tutorials use the same auth pattern (public API key + signed user token) and the same preferences.get() / preferences.set() APIs documented above. They walk through building a preference center UI in React.
You can also learn more in the Building in-app UI section of our documentation.